Crafting a meaningful homemade present
By Sonam Kaloti, Arts Editor
“Do note that this is in no way an easy process; hot glue is a weapon in and of itself.”
“A present homemade is worth more than one paid,” is something I’ve never said before, but should start to. You can take something sentimental—a memory, video game, book, movie, first date, inside joke, anything—and turn it into a physical gift that will be far more special than most store-bought items. The time that goes into homemade gifts translates into love, so your gift receiver will always have a physical representation of that on top of a cherished memory with you!
The receiver of my (very late) Christmas gift and I have been playing Stardew Valley as a fun bonding activity since we’ve been unable to spend time together in person due to COVID, so I’ve decided to build the Stardew Valley farmhouse. Regardless, it’s been a fun and cute environment to peacefully learn about each other while also pulling the occasional prank.
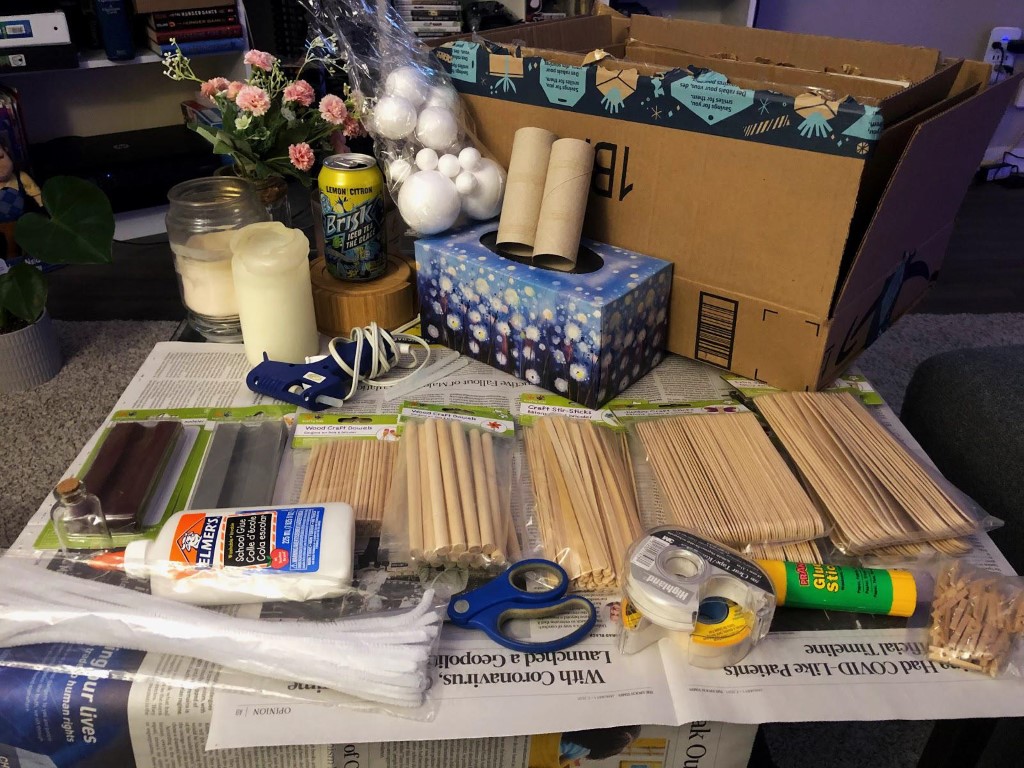
To start, I’ve gathered all the materials I think I’ll need for the first step: the build. Since I’ll be using some hot glue, I’ve laid out an unwanted politically-charged newspaper I received recently to protect my table.

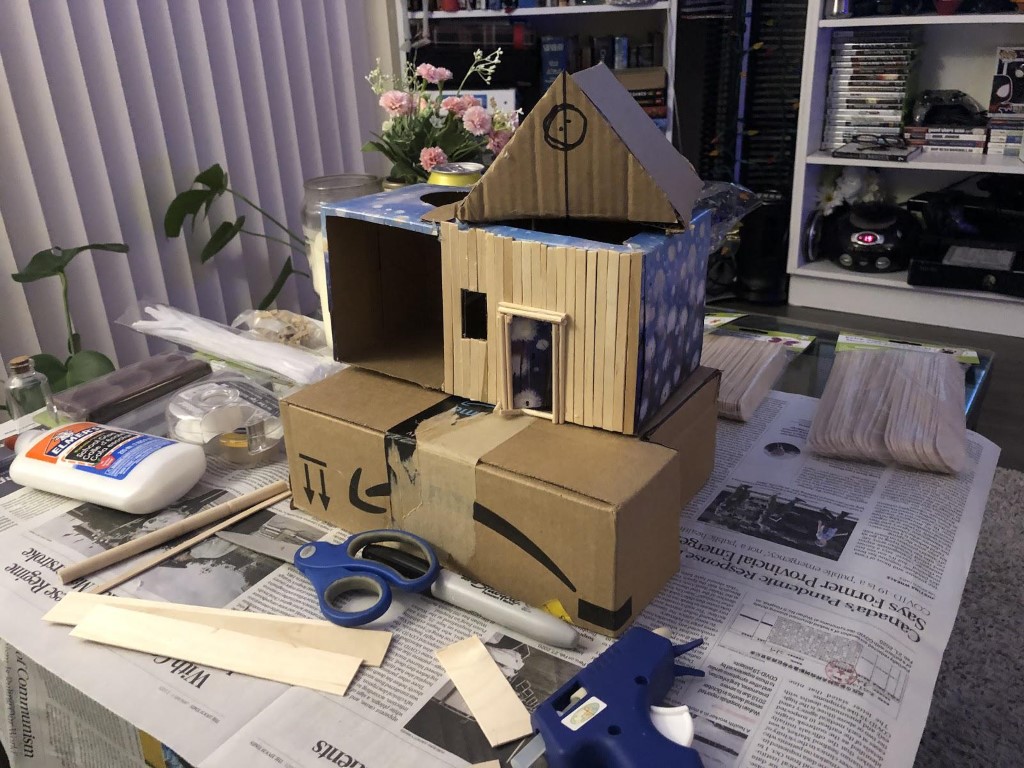
Do note that this is in no way an easy process; hot glue is a weapon in and of itself. Hot glue doesn’t care who’s holding it—it is out for blood. Also, three hours later and who knew this would take so long? Pro-tip: wooden dowels are impossible to cut.

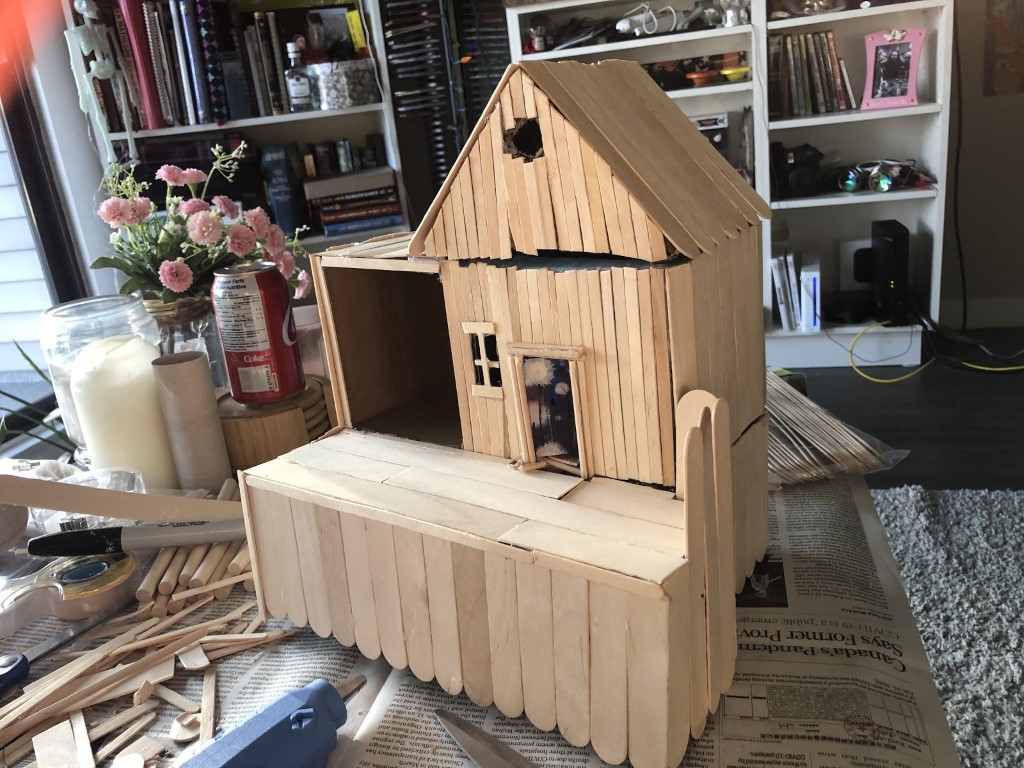
Day one finished since I ran out of hot glue. After buying some more (and a saw), it was time to go again. Here’s what it looks like after all the sticks and pieces have been attached.

Now is the time for paint (finally). Personally, I will say that this is the easiest part. The hardest was cutting the craft sticks with scissors because they are surprisingly difficult. Oh, not to mention the burns from the glue… awful.
Post-paint, the finishing touches include some modelling-clay details. The chimney, as well as the inside furniture, can be finished up with that. Lastly, I just need to collect some wood twigs from outside and put them in the compartment next to the house—and we’re done!

