Wort: it’s not just a magic potion in a witch movie
By Laurel Borrowman, Life & Style Editor
Picture this: two women hover over a huge cauldron filled with boiling caramel-coloured liquid, dense with a rolling spongy emerald suspension. Steam rises from the pot, and swirls to the ceiling as one stirs the odd mixture with a giant spoon, as they both cackle over this special recipe they’ve concocted.
Think it’s Hallowe’en and you’re watching Hocus Pocus with your little sister? Not quite. It’s just another night in my apartment, where my roommate and I are embarking on step two of brewing beer: making the wort. This can be you.
Wort is what you’re left with after boiling, mashing, sparging, and adding malt to a whole bunch of boiling water. It’s basically liquid packed with the sugars necessary for fermentation, which, if you recall from Science 10, is necessary to make alcohol.
Last week, we discussed step one of home brew how-to, which involved preparation, both mentally and equip-mentally, for making beer at home. So now that you have all the necessary gear, and a moderate understanding of what a fine mess you are getting yourself into, it’s time to start making the beer!
What I’ll provide is a general overview of the time commitment and resources required for this stage. Steps of this stage vary depending on the recipe you’ve chosen. Sometimes the recipe requires grains, which have to be sparged; sometimes there are two kinds of hops that will be added to your boiling water at different times. So when you buy your ingredients, be sure to ask your brewmaster what to do with what and when to do it. However, I can tell you pretty much what this part of the process looks and feels like, regardless of recipe.
It’s sweaty and it’s heavy and it’s very photogenic! This step, from start to finish, takes about three to four hours. You aren’t actively brewing the whole time, but it’s wise to plan being at home for a full afternoon or an evening to do this. First, you’ll fill your pot (or cauldron) with 25 litres of water. Then boil it, which will take somewhere between 30 to 40 minutes or so. Once the water it bubbling away, and you are cackling like a witch, you’ll remove the pot from heat (or turn the burners off), add in all your malt (liquid sugar made from grains) minus two cups (put this in an airtight container and set aside for bottling in about two weeks), and boiling hops (bushy, green little plants about the size of a walnut that resemble pot buds). Bring it back to a rolling boil, make sure it doesn’t bubble over (sticky burny malty mess all over your oven is awful), leave it uncovered, and cue up Breaking Bad, because you’ll boil that mixture for one hour.
It’s also wise at this point to get an excess of boiled water ready. A kettle plus another large pot is usually enough. Boil and then leave to cool, as you’ll need some sterile, room temperature water near the end.
After one hour has passed, and you have successfully turned your dwelling into a sauna, you’ll add the finishing hops, boil for another few minutes, and sparge the grains into the pot of liquid.
Next, go to the bathroom and fill your tub about halfway with cold water, or about to half the height of your giant pot. Do not get into this bath. Then, get a big strong friend who you are willing to share some of your spoils with, or whoever your brewing-partner-in-crime may be, to get out his or her big strong arms and help you carry the massive, sticky, steaming, boiling hot, super heavy pot of wort into the bathroom. Gently rest the giant pot in the bath, and drain out any bathwater that looks like it might overflow into the pot. The goal here is to leave your pot in this cold bath until the wort has cooled to room temperature. This will probably be another hour.
In the meantime, you’ll need to prep your yeast. This is a finicky step for which you should get proper instructions from your brewmaster. The most important thing is to sterilize everything involved in being around the yeast, to use sterile, room temperature water for mixing, and to not eff it up. The yeast is what makes the magic happen (i.e. facilitates the chemical reactions to turn wort to beer).
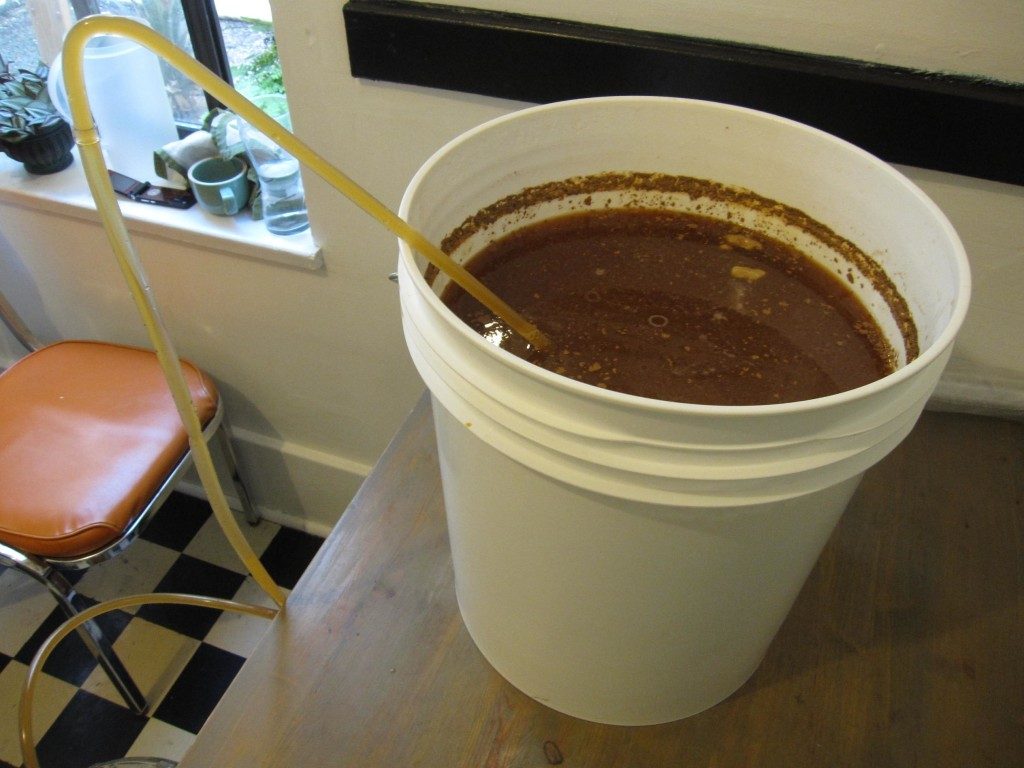
Once your wort is cooled to room temperature and you’ve got your BB fix for the night, get your big strong friend again, a colander, your primary (the big white bucket), the bung (hee), and your yeast. Again, all of your equipment has to be sterilized by now. Rest the colander over the primary so that when you pour the wort from the pot into the primary, the hops get strained out. The wort in the primary should be free of chunks. Squeeze the excess liquid out of the hops through the colander with your clean hands, and top up the primary with your cooled extra water from earlier until it’s almost full. Add the yeast (don’t eff it up), secure the lid onto the primary, and bung it up.
Done! For now, at least. Within a day, you’ll notice that it starts to “burp.” There will be movement in the bung because gas is being formed and released inside the primary. Magic is happening. It’ll burp for three to five days, and then it’s technically beer.
Come back next week when we’ll discuss racking, more sterilization, and the extreme patience you’ll exercise while leaving 25 litres of beer alone for three weeks.

