For when you just can’t wait for the salon
By Morgan Hannah, Life & Style Editor
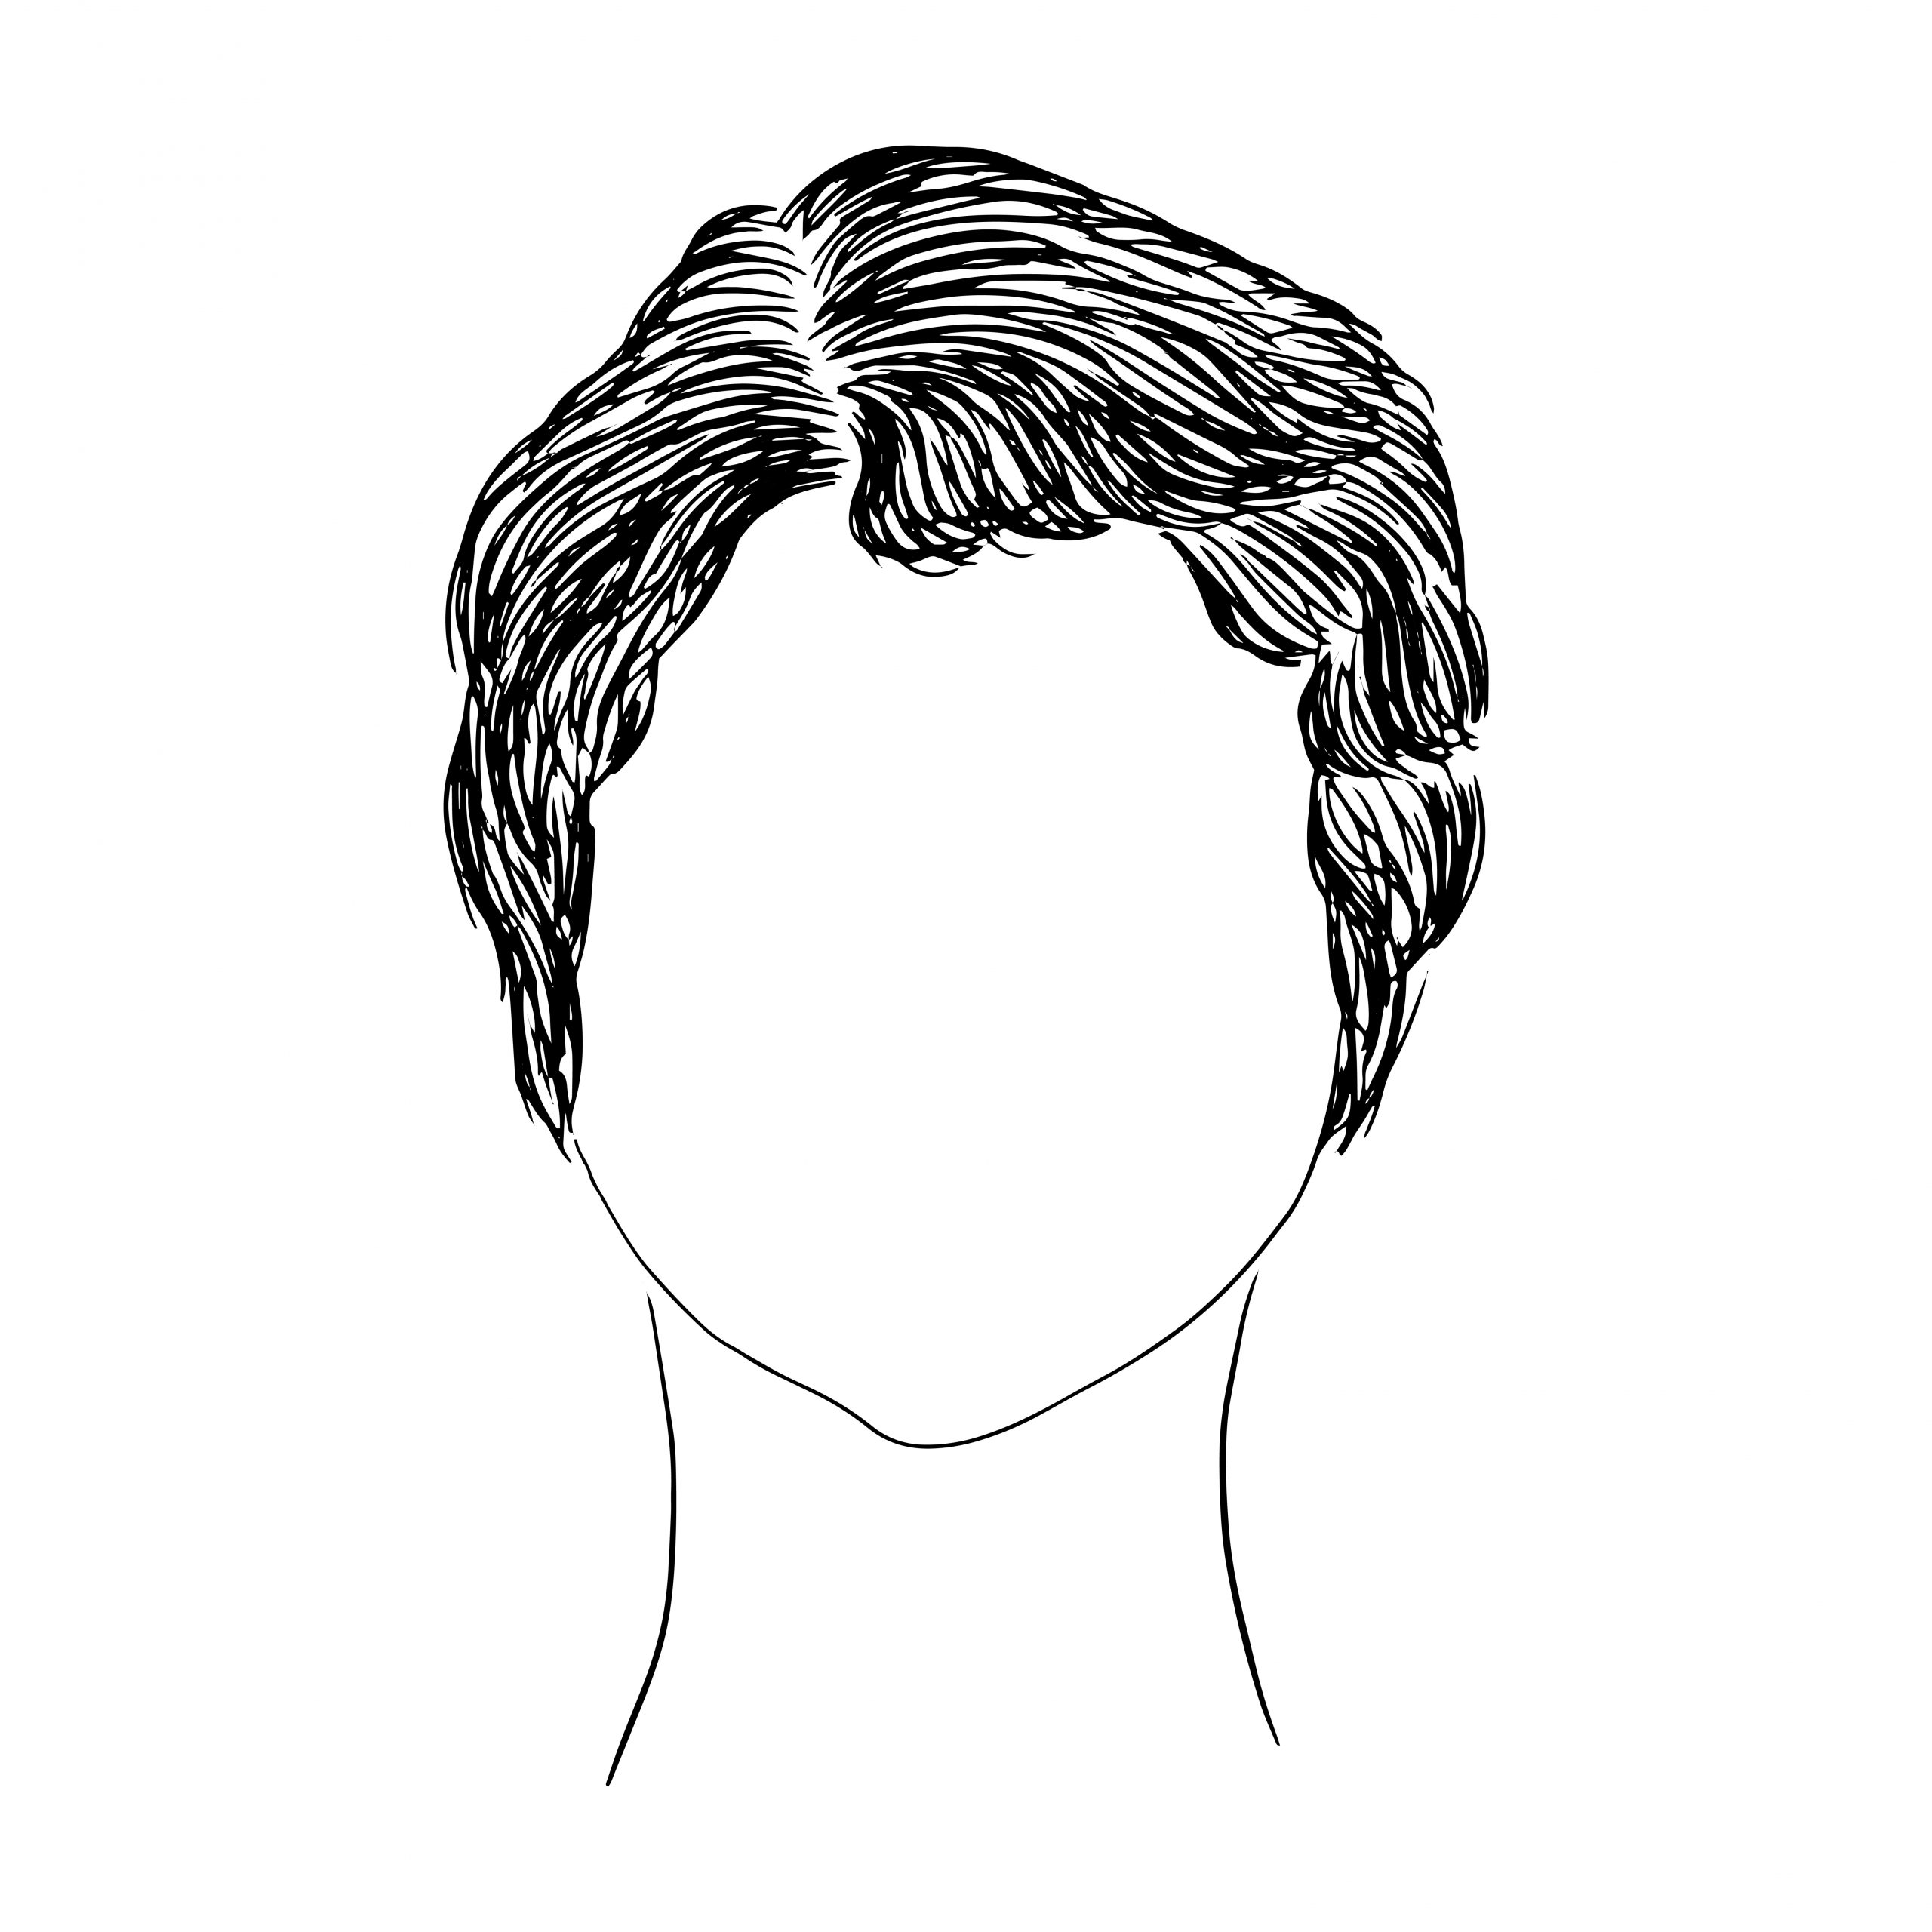
Front bangs are good for someone looking for a real change in their hair life.

Today, I’m going to teach you how to cut your own hair! And bangs! At home. Properly! Because we all know you’re going to do it one day, so let’s do it right rather than botch your hair and wait many months for it to grow out before you can show your face again. So, here are the basics of haircutting!
First of all, let’s talk tools. You’re going to need some alligator clips (you know the ones; they look like an alligator’s open mouth). You’ll need some scissors (home office scissors will work in a pinch), but if ever you were to invest in something for your hair, proper haircutting scissors would be the thing to invest in. Bonus, they’re not expensive! You’ll also need a comb and some hair ties of any size and kind—and lastly, a brush.
Start by washing your hair and applying a nice, non-thick, non-greasy leave-in conditioner. Then blow-dry your hair, making sure it’s completely dry before you cut it. Usually, a hairdresser will cut your hair wet, but without the right tools, that’s a bit more difficult and you’ll be able to see the end result faster when working with dry hair.
If you have somewhat straight hair naturally, try and straighten it until it’s poker-straight for the best results. If you have naturally curly or wavy hair, this is a blessing in disguise for when cutting your own hair, trust me!
Divide your hair into four sections. To do this, start by parting your hair normally all the way down the back, then section the two halves of hair into two more parts by laying your comb on the apex of your head, this is tallest point of your head, and drag the comb through the hair, behind the ear, and all the way down. This will make the two different sections of hair on either side of the head. Using clips or hair ties, keep all four sections separated from each other.
Now, take a look at your hair and envision the length you want, then using the hair ties make four ponytails right at the length you want your hair cut. Make sure you’re not directing the hair forwards or backwards as you do this—you want your hair to be right over your shoulders so it isn’t cut at an angle. Make sure when putting the hair tie in, you always keep tension on your hair sections to avoid bubbling. The back of the hair is naturally more difficult, so having a friend or family-member help is a great bonus to ensuring evenly cut hair.
If you have lots of hair, don’t be afraid of making more than four sections; really, you can have as many sections as you’d like. Lastly before cutting, make sure all your hair ties are even and at the same place on each hair section.
Now for the fun part: we are going to cut the hair! This is where those hair-specific scissors will come in real handy. It’ll be really hard to cut through whole sections of hair with anything but hair-specific scissors. You’re going to want to point-cut. Point-cutting is when you go up with your cutting motion rather than across or down. No going across—horizontal cutting will give you a sharp line. Point-cutting will provide a nice, feathered look. Take a little off at a time and feel free to thin out the bulk by sniping at the ends using the point-cut method.
Take your hair ties out and comb your hair. If you have curly or wavy hair, any imperfections are instantly hidden and will look fabulous. With straight hair, it’s important to correct anything that you don’t like, but don’t overdo it! Hopefully your ends are already even (if you did all the previous steps right), if they aren’t, comb your hair straight and down over your face and point-cut away any issues. You can now stop here.
If you also want to get banged, well then me too! There are lots of different kinds of bangs: side bangs, baby bangs, and front bangs! Long side-swept bangs are the easiest, most low-maintenance bangs that will grow out the fastest (great bangs for a bang beginner). Front bangs are good for someone looking for a real change in their hair life. Baby bangs are ballsy—you’ve probably had front bangs already and you’re ready for something more edgy and dramatic.
For all kinds of bangs, the tools I recommend are a straight-razor (for side swept bangs), a comb, hair-cutting scissors (for straight across front bangs), and barber’s clippers for baby bangs! Having a water spray bottle and some clips and some styling tools (like a straighten-iron or a round brush) are optional but beneficial to have. It is recommended to have your hair washed and straightened for bangs. Even with curly or wavy hair… because you’re probably going to have your bangs worn straight, right? If not, your bangs will be more freehand and artsy.
Tilt your head slightly forwards and see what hair falls forwards. Using the comb, gather the hair that falls forwards from the crown to the top of your eyebrow. Start with less hair (a thinner bang) as you can always add more later. Tie back the rest of your hair to keep it separate from the new section. Inspect your soon-to-be-bangs very closely (the Other Press is NOT responsible for any mistakes or terrible bang jobs that occur). Do not go too far back with your bangs, just a third of the way of your head.
Side-swept bangs: part your bang section into two, pin back one side and pinch the other—using tension, cut with the straight-razor at a slant with shorter hair in the centre of the section and longer hair at the edges of the section. Do this to the other side too. Touch up any stray hairs that aren’t the length you want.
Front bangs: using the same sectioning as the side-swept bangs, brush all your hair evenly forwards and on top of your nose. Use your eyelashes as a guide for how long you want your bangs (in the eyes is never fun). For these bangs, you want no tension for proper length. Using a comb to guide, point-cut vertically across (this will give you room for error). Now level the sides out a little bit by cutting upwards at an angle to soften out the bangs.
Baby bangs: once again, section off the front of the hair as you had before. Then (especially for longer hair) section that section into three smaller sections. Just slightly above the eyebrows (careful not to hit your brows), use the barber’s clippers and softly press them against your first, middle section. Then release the side sections, one at a time, and do the same thing using the middle section as your guide. Make sure you are pressing the clippers against your face gently and level. Touch up your bangs for a straight-across look and determine if you want them shorter or not. It’s important to have your bangs go all the way to the sides so as not to close up the face.


